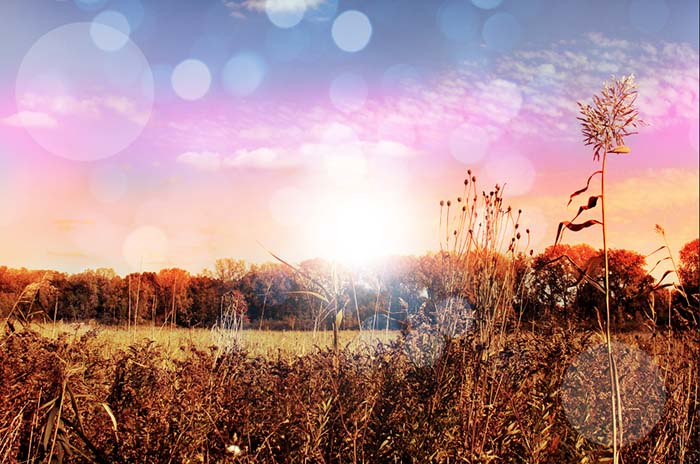
Photoshop Tutorial: Turn Afternoon Into Sunset
Here’s a before and after preview of this step-by-step Photoshop tutorial.
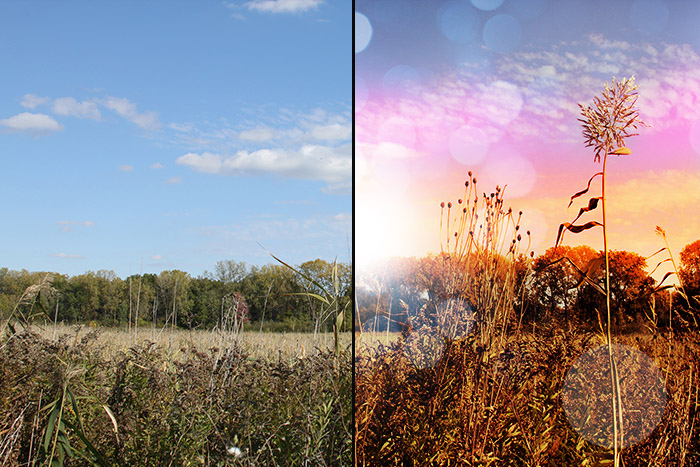
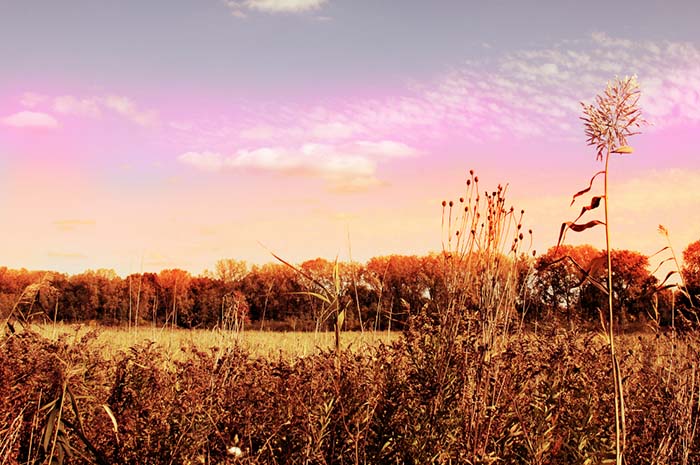
Before photo (left) and after (right).
Download the Nature Photo HERE .
If you download my photos: Keep in mind they are covered by the Creative Commons Attribution-NonCommercial-ShareAlike 4.0 International (CC BY-NC-SA 4.0) License. You can quickly read about the license here.
Download The Bokeh Texture (1920 x 1280 size) from Pixabay: http://pixabay.com/en/blue-glitter-bokeh-texture-lights-313995/
Giving the landscape scene more pop.
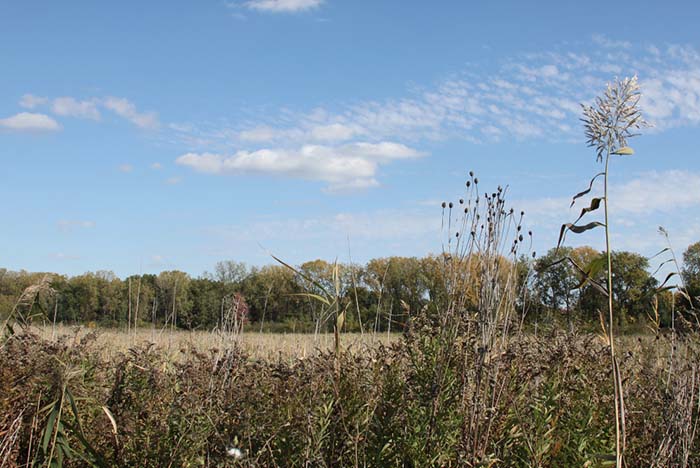
Go ahead and open up the nature file Original_Michigan_Marsh.jpg. This is our starting point:
The first thing we will do is open up a new adjustment layer on top of the existing background layer by selecting the half-filled circle on the bottom of the layers palette. A Properties pop up box should automatically appear. If it doesn’t, simply double click on the half-filled circle icon to the left of the layer name in the Layers Palette. Within the Properties palette, make sure you have the Selective Color icon selected in the upper left corner.
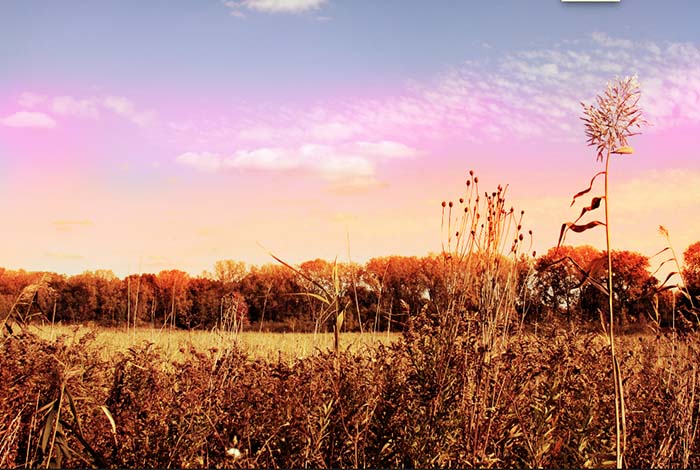
Set the Black slider to +4. You should notice it makes the black colors darker in the photo, and increases the contrast overall. It’s a subtle difference, but will make the end result look that much better. Trust me.
There’s no need to click an “okay” button. In fact, you can simply leave the Properties box open.
Adding a sunset cast to the entire scene.
Next, create a new Gradient map adjustment layer on top of the existing one. Don’t be alarmed by the crazy colors it may automatically give you. Back in the Properties box (which should have automatically changed once you created the new layer), make sure you have the Gradient Map button selected in the upper left corner. Make sure neither the Dither or Reverse boxes are checked, and then single click on the bar of color. The Gradient Editor will open.
It’s time to adjust those colors to a more sunset appropriate hue. Double click on the bottom left arrow of the gradient color bar, and select a nice bright red, somewhere around #e50303. Click the Okay button, and then double click the bottom right arrow in the color bar. This time, choose a bright yellow color, somewhere in the neighborhood of #fbfb1f.
Click Ok.
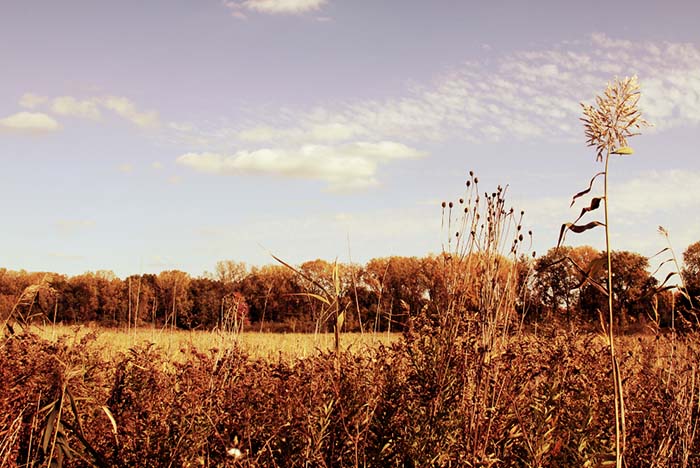
Back in the general Layers Palette, set the Gradient Adjustment Layer to overlay. This new sunset hue should now permeate the entire scene.
Painting in the sky.
Now it’s time to (figuratively) get our hands dirty with the Brush tool. Select the Brush tool (B), and set the foreground color to # f66a02. Set the brush size to 300px and the hardness to 0%. You can leave its Opacity and Flow at 100%.
Then create a new layer. Name it “Orange Sky”, and set the Blending Mode to Overlay. Begin painting your orange color across the painting, just above the line of trees. Be careful not to get too much orange in the trees themselves, as this will give them a neon orange appearance.
Now, create a new layer and name it “Pink Sky”. Set its Opacity to 49% and the blending mode to Overlay. With the brush tool, set your foreground color to a fuschia/pink hue, around #f954c4. Paint this new color into the sky. The effect will be subtle, but worth it.
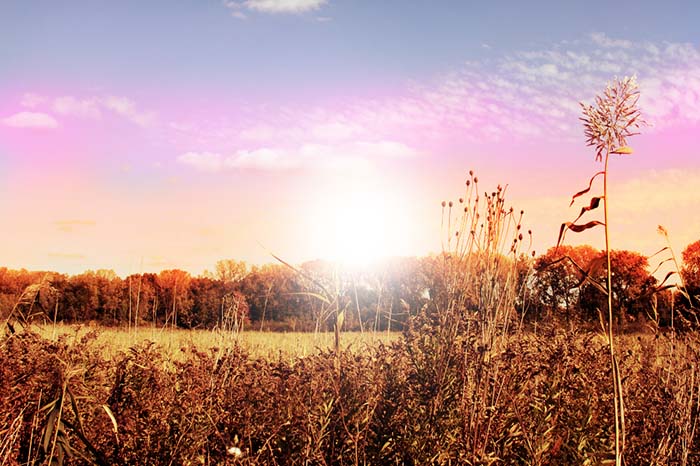
Create a new layer. Name it “Additional Blue” and set its Blending Mode to Overlay. Set your Brush foreground color to a medium blue, around #4d80bd, and paint this new color into the top areas of the sky. It’s a subtle difference, but by now you should know that it all adds up. 🙂 You should have something resembling this:
Adding in the shine of the sun.
Create a new layer and name it “Sunlight”. Make sure your Brush tool is still selected, and set the foreground color to white (#ffffff). Set the brush size to 500px, and leave the hardness at 0%.
Click once in the center of the image. Then, click again.
Increase the size of your brush to 1000px, and brush Opacity and Flow to 75%.
Click once in the center of the image. Then, click again.
Adding in the lens flare spots.
Now it’s time to add in some lens flare to make this scene more dramatic, and we’re going to use some bokeh lights to accomplish this. Open the file blue-313995_1920.jp. Then, click and drag it onto your nature scene. Press Command + T (a short cut for selecting Edit, Transform, Scale from the top menu bar) and stretch out the blurred lights so that it covers the entire image.
We won’t leave it like this, of course.
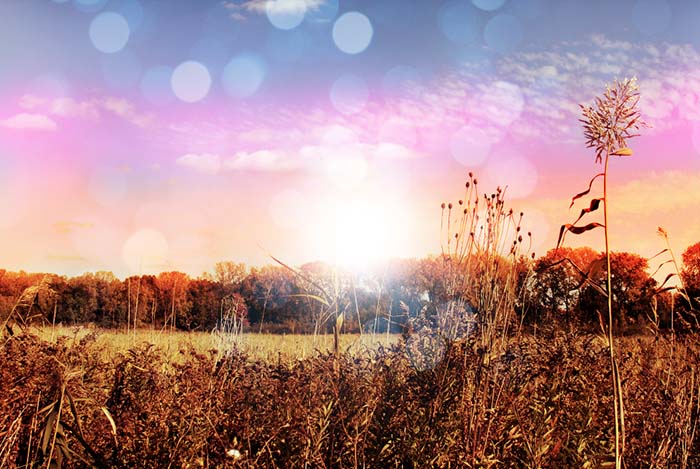
Name this layer “Flare Spots”, and then set the layer Opacity to 76%, and the Blending Mode to Soft Light. Whew, it looks much better. More like lens flare, I’d say.
Quick tip: Abstract images that have black backgrounds generally blend well with other images when you play with the Layer Blending Mode options.
We don’t want to go overboard with this effect, so with the Eraser tool (E), go in and erase portions of the lens flare that you don’t want in the image. Make sure your eraser is set to 0% hardness, and don’t be shy about attacking it with a large brush size around, 600px.
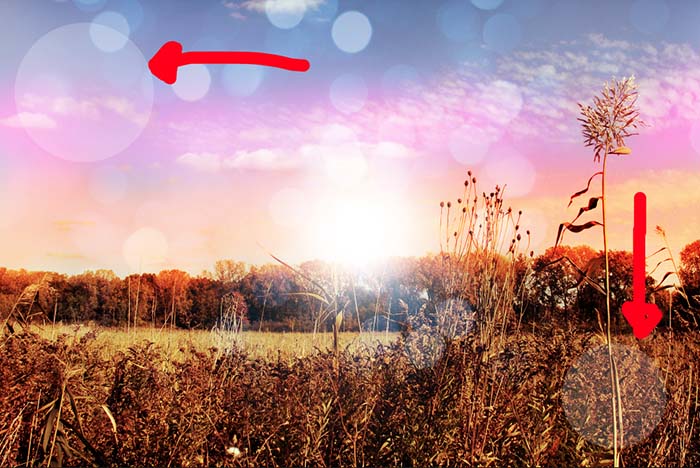
Icing on the cake. More flare!
This final step is optional and purely based on personal preference. I really wanted two big lens flare spots in the image, so I created another layer and named it “Additional Spots”. I selected the Brush tool (B), and set the Hardness to 100%. I set the Opacity and Flow to 45%, and selected a pale yellow color, around #fef7d6.
Then, with a brush size of 400px, I dramatically clicked once in the upper left of the image. I then reduced the size of the brush to 300px and click once in the bottom right.
And there you have it: a lovely sunset scene. The beauty of this technique is that it can be applied to a wide variety of landscapes. Enjoy! The final result: