Car In The Forest Tutorial
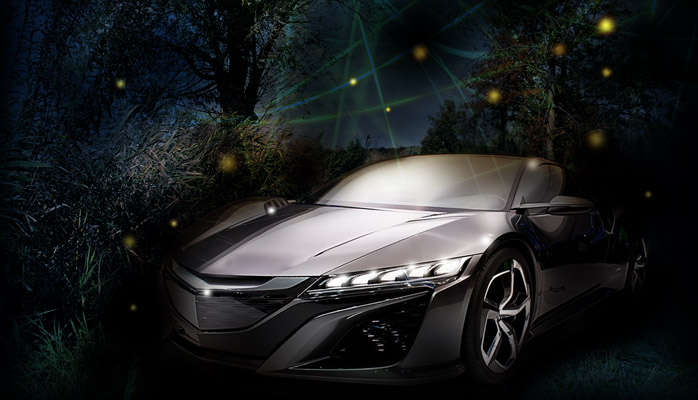
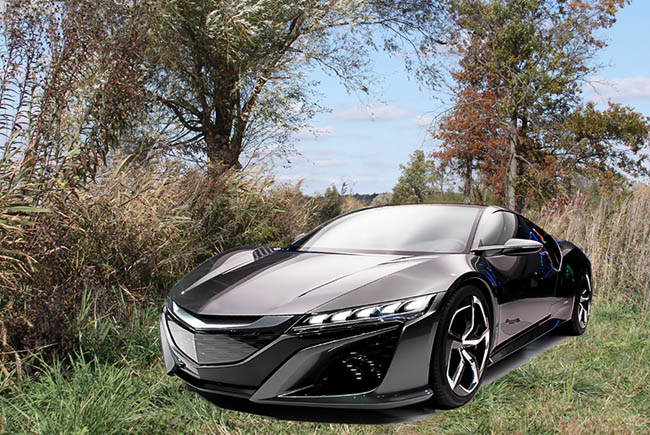
In this step-by-step Photoshop tutorial, this is what we’re going to create:
If you download my photos: Keep in mind they are covered by the Creative Commons Attribution-NonCommercial-ShareAlike 4.0 International (CC BY-NC-SA 4.0) License. You can quickly read about the license here.
Download the Car Photo HERE .
Download the Nature Background HERE
Download the Medium or XL Abstract Lights from Pixabay. I used the XL size in the tutorial, but the Medium size will do just fine as well: http://pixabay.com/en/kinetic-art-art-artist-abstract-71764/
Cutting Out The Car
Go ahead and open the car image, which I took at the Detroit Auto Show. While it’s a cool setting, we don’t need everything in the photo.
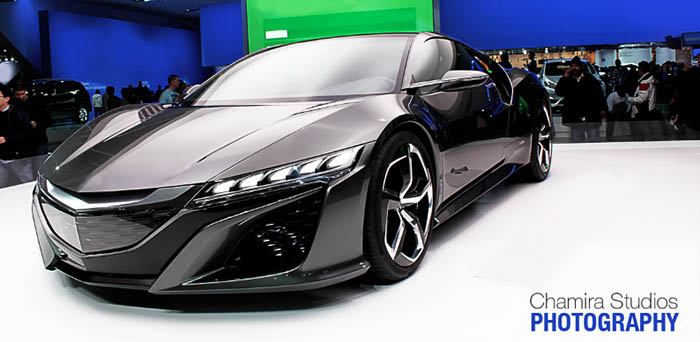
Car photograph I took at the auto show.
The first thing we’ll do is remove the car from its background using the Quick Selection Tool. Begin clicking around the car. If you select too much and begin to capture portions of the car, hold down the Alt/Option key to reduce your selection. Or, alternatively, you can press Control + Z, which is quick way to go back a step.
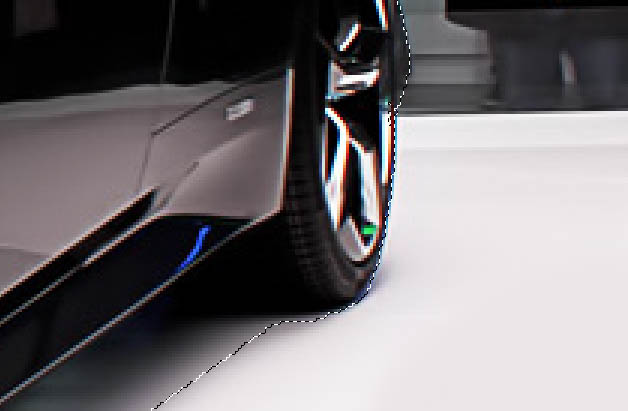
Zoomed into the quick selection.
After you make your selection, head over to Refine Edge and set the Edge Detection Radius to 2px. No need to select “Smart Radius” in this case. Press delete to remove the area around the car. It’s okay if you don’t have everything removed around the car, as long as the immediate area surrounding the vehicle is 100% gone.
After you’ve cut out the car, you can use the Polygonal Lasso tool to easily select around the car. At this point, you could click and drag your car selection to the landscape image. However, it makes hard to see what areas of your selection needs to be cleaned up once it’s sitting on top of grass. It is for this reason that I prefer to quickly remove the rest of the background, which makes it easier to see what I’m doing while cleaning up the car.
Removing the rest of the background is easy. With the area around the car still selected, go to Selection (the menu at the top of your workspace) à Invert Selection. This reverses your selection. Press Delete, and the rest of your background will disappear.
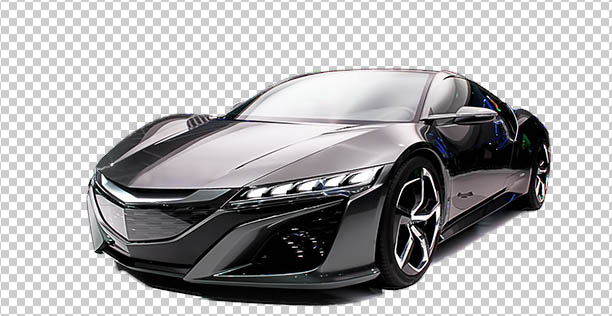
Now is the time to clean up the selection a bit. I use the Erase tool, and set the Brush hardness to roughly 50%. If you have a Wacom pen or something similar, it makes it much easier. However, you can also achieve this with your simple mouse and a bit of patience.
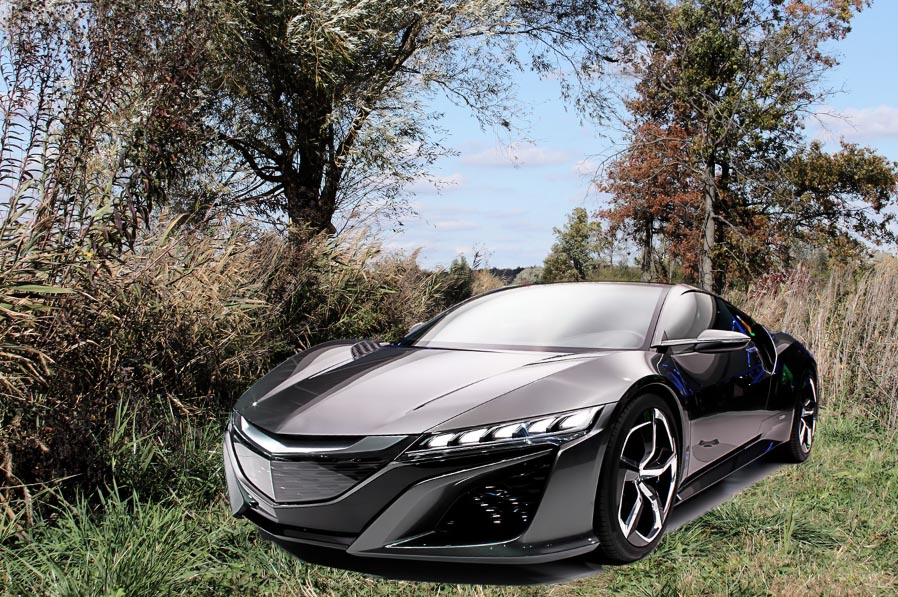
Once you are finished, click and drag car directly onto the cropped landscape image. Rotate to correct angle. This is where it will stay. It doesn’t look like it naturally belongs there yet, but not to worry.
Working On The Landscape
For the landscape, we’re going to make a few adjustments to turn it into an evening scene and make the colors pop a bit more.
Create a Select Color Adjustment Layer directly on top of the Nature Layer. To do this, go to the bottom of your Layers Palette and click the icon that looks like a half-solid circle. Scroll to the very bottom of the drop down menu and click “Selective Color”.
Make sure you are in the Selective Color Properties menu, and not the Masks menu. From the Colors drop down menu, select Black. Click and drag the bottom slider (appropriately labeled black) all the way to the right, at 100%. As you will, this darkens the black colors quite a bit, and creates an effect of overall contrast.
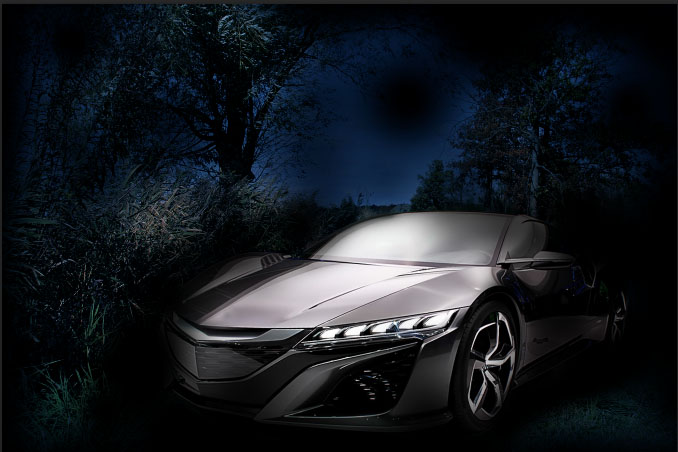
After the Level Adjustment
Painting In The Night
Create a new layer to sit on top of everything. Name it Main Shadows. Leave the Blending Mode at Normal. Select the Brush tool (B), and set the color to black #000000. Make sure its set at 0% hardness and around 300px large. Paint around the edges of the nature scene.

Create a new layer to sit on top of everything. Name it Secondary Shadows. Set the Blending Mode to Soft Light, and the Opacity to 50%. You can leave your Brush settings the same as they were before (0% Hardness, 300px large). Paint across most of the entire landscape image, with the exception of a couple spots in the trees on the left.
Create a new layer to sit on top of everything. Name it Evening Sky. Set the Blending Mode to Soft Light. Select the Paint Bucket Tool (G) and put the foreground color to #063d83. Click once to fill the entire scene with this color. You will see that it adds a night-cast to the entire scene.
By this time, the car sitting in the landscape should look much more convincing than before, although not quite there yet. To solve this, we’re going to hand-paint some shadows directly around the car so it sits better on top of the grass.
Painting In Mysterious Shadows Around The Car
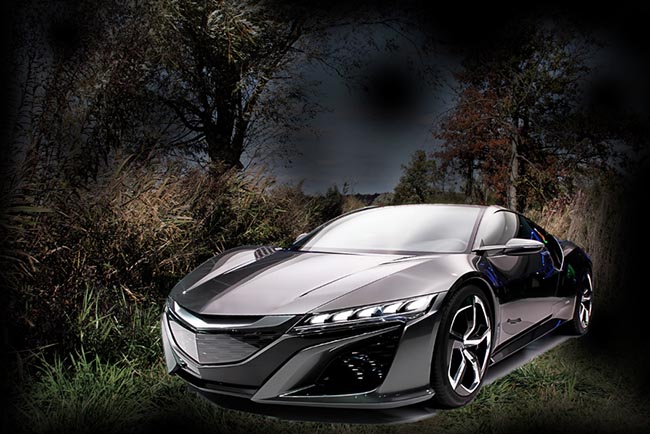
Create a new layer on top of the Car layer. Name it Car Shadow. Select the Brush tool (B), and set the color to black #000000. Make sure its set at 0% hardness and around 125px large. Paint around and slightly on top of the car in order to visually pull it into the darkness of the scene around it.
Painting touches of black in the layer above the car makes a huge difference.
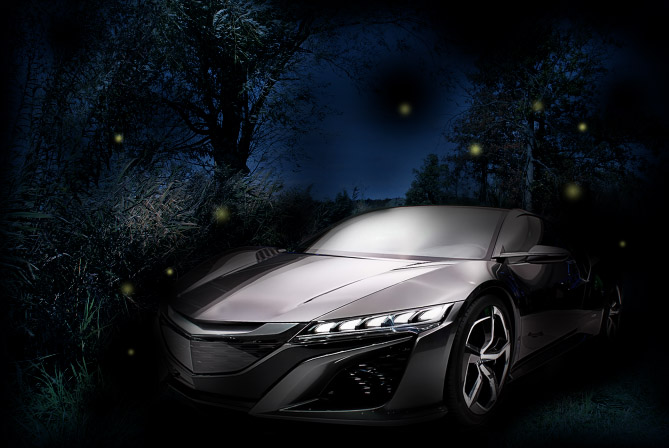
Adding In Lights
Create a new layer to sit on top of everything. Name it Main Lights. Set the Opacity to 65%, and leave the Blending Mode at Normal. Select the Brush tool, set the brush size to 30px. Choose a general yellow color (I chose #ebed68), and lightly click on the areas where you would like a floating light. Don’t over do it, though. Three or four clicks will do the trick. When you’re done with that, reduce the size of your brush (around 20px) and add a few more. Then, reduce the size of your brush one more time (around 9px) and add a few more. This adds depth.
Create a new layer to sit on top of everything. Name it Car Highlights. Leave the Blending Mode at Normal, and the Opacity at 100%. Select your Brush tool, set the size to 30-40px, and set the color to white, #ffffff. Paint soft spots of light on strategic points on the car.
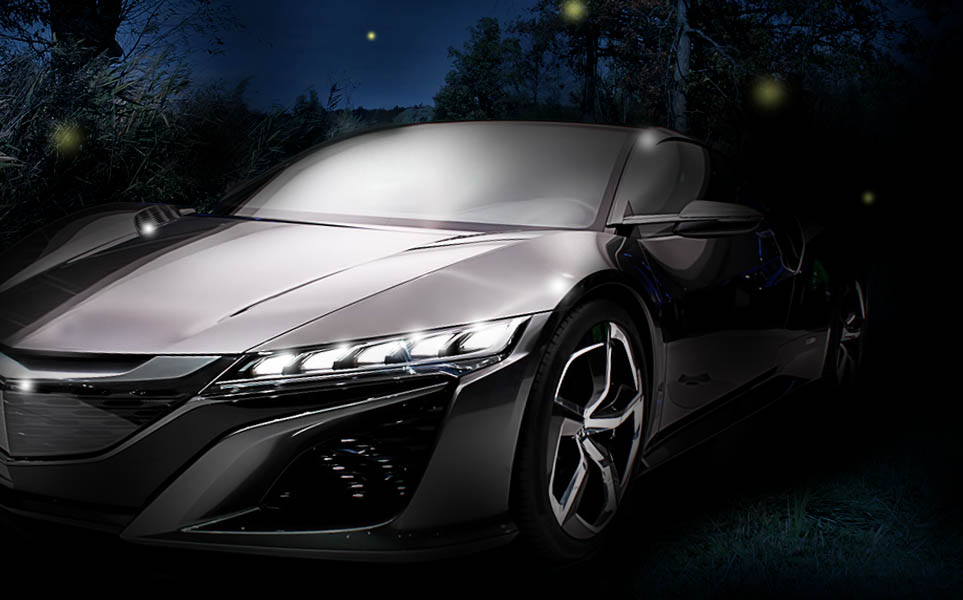
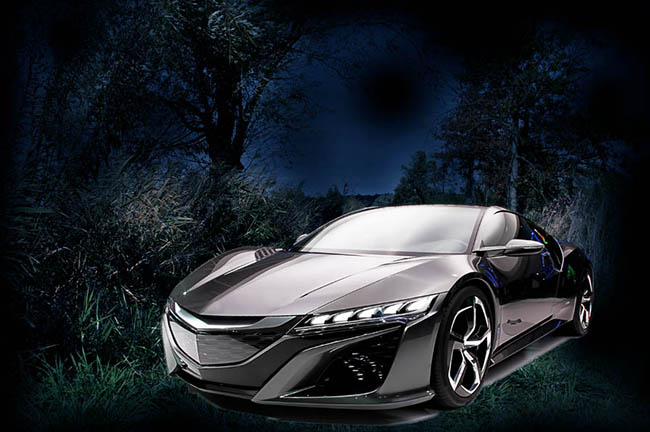
The Final Touch: Creating A Dynamic Evening Sky
Open the kinetic art file, and then click and drag it directly to the evening nature scene. Make sure it’s sitting on top of everything in the Layers Panel. Go to Edit>Transform>Flip Vertical. Set the Layer Opacity to 65%, and the Blending Mode to Soft Light. Using the Erase tool on its softest Hardness setting (0%), erase areas of the lights that you don’t want. I decided to leave the main section of it above the car, and leave everything else.
And there you have it. A sleek, new car sitting in the middle of a field. If a car drives through the forest and no one is there to hear it, does it really make a sound?
Who knows. But hey, it looks really cool. I hope you enjoyed this tutorial!